A Complete Guide to Model Building for Beginners

A Complete Guide to Model Building for Beginners
Beginning something new can be scary and overwhelming for many individuals. The same is valid for creating models. When you're exposed to so many new words and ideas, it's just too much to process. What should you do next, and where should you start?
In this beginner's tutorial, we've described the fundamental procedures for model building. To ensure that your path to your first model goes as smoothly as possible, we'll walk you through each and provide all the required information.
What Is Model Building?
Let's first review the definition of model construction. In essence, model building combines pre-made kits to create a finished model. You can also make models with purchased parts and materials once you've gained sufficient expertise and proficiency.
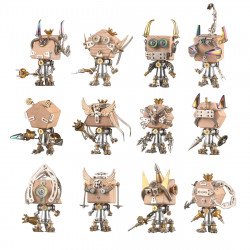
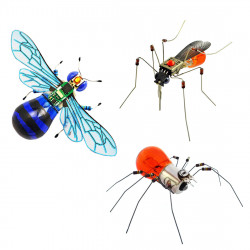
Generally speaking, there are two types of models. First, some models are made to look like actual items, such as cars and landmarks. Additionally, scale replicas exist, which are precise duplicates of actual objects in a considerably smaller size. Second, some models imitate imaginary notions and characters, like robots and anime characters.
The Basic Steps of Model Building
Although the design, level of complexity, and materials used in each kit vary, the construction technique is identical for both novices and experts. The following steps are part of this building procedure.
Choosing the ideal model kit for your needs
assembling the necessary tools
Getting ready to assemble
Putting the model together
Applying the final touch
Showing the finished model
You'll adjust these fundamental processes as you develop as a builder to make them more efficient and comfortable for you. But let's examine each crucial stage for the time being.
Finding the Right Model Kit for You
Of course, the first step is finding a kit that works for you. Not only should it stimulate your attention, but it should also be on par with your skill level, among other factors. We've outlined the things you should look for to simplify your search for the ideal model kit.
Design
No one wants to construct a model they are not interested in. Consider what causes your heart to race. What inspires you? What model would you like to see on your shelf or desk daily?
Among the most well-liked model genres are:
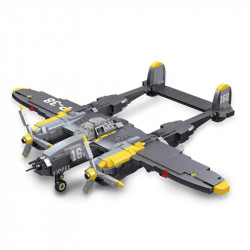
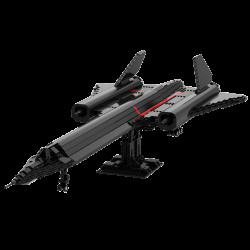
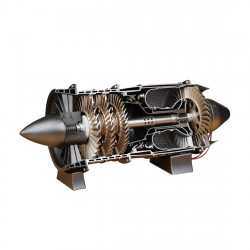
Models of aircraft, such as hot air balloons, helicopters, and airplanes
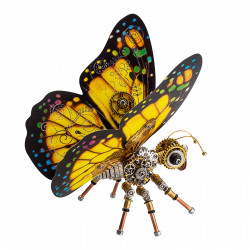
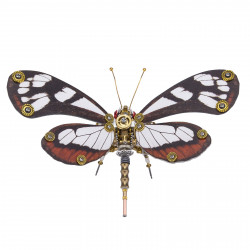
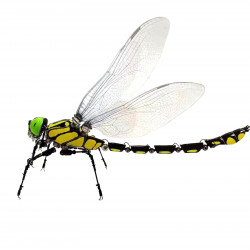
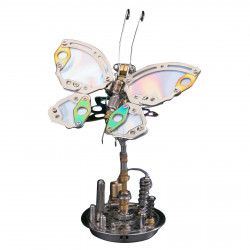
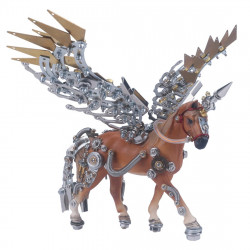
Animals and legendary beings
Pokemon, Dragon Ball, and Neon Genesis Evangelion are examples of anime models.
Models of architecture, including structures, landmarks, castles, and tourist
Ferris wheels and carousels are examples of carnival models.
Simulations such as the ROKR marble run series
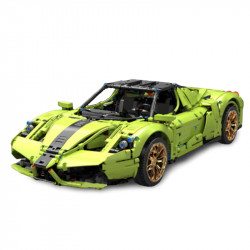
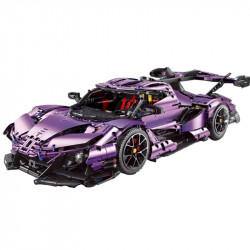
Lego models
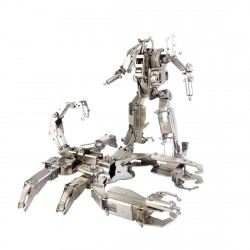
Mecha models such as Zoids, Gundams, and Transformers
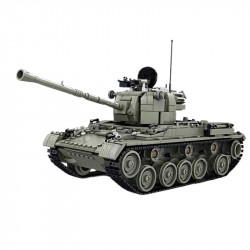
Weapons, tanks, and submarines are examples of military models.
Miniatures such as figures, tabletops, and dollhouses
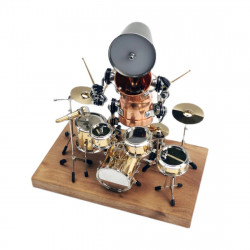
Models of music, such as music boxes and instruments
Models of science fiction such as Star Wars and Star Trek
Space shuttles, space stations, and rockets are examples of space exploration models
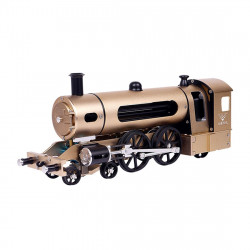
Models for trains
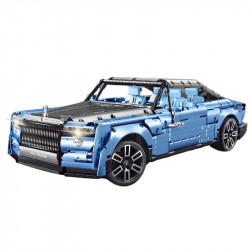
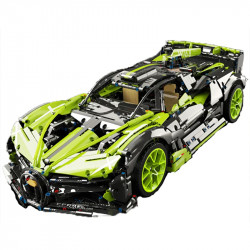
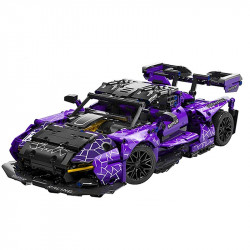
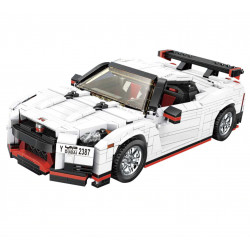
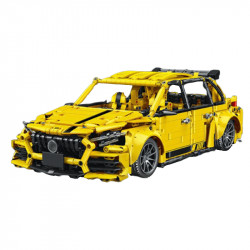
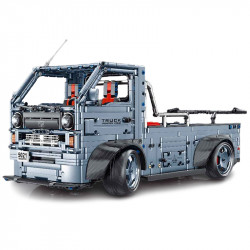
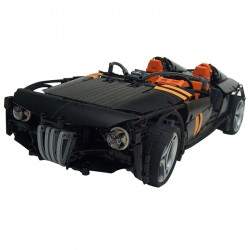
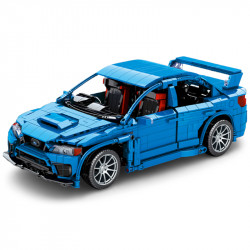
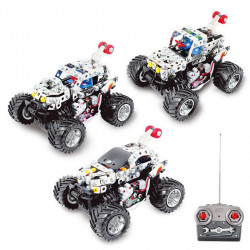
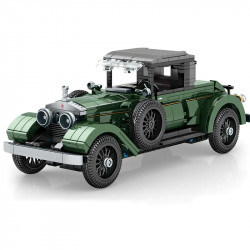
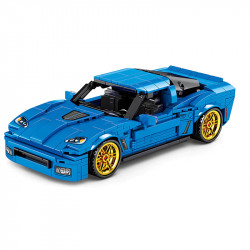
Models of automobiles, trucks, and motorcycles
Models of watercraft, such as ships and boats
Difficulty Level
Finding a kit of that design at a level of difficulty corresponding to your level of expertise is the next step after deciding on the type of model design you wish to construct. Most design genres are offered in varying degrees of difficulty to accommodate builders of all ages and skill levels, making this simple.
Manufacturers grade the difficulty of their products using a system of their own. If a kit's product name states that it's a beginner kit, you'll also know it's intended for novice builders.
At Robotime, the more stars a kit has, the more difficult it is to assemble. We suggest kits with three stars or fewer for novices.
One to Two Stars: Even children can quickly construct these kits, which frequently include larger pieces.
Three Stars: These kits are targeted at typical builders, teenagers, and adults. They may be constructed in two to four hours and occasionally have lighting.
Four Stars: These kits are more delicate and challenging due to their smaller pieces and more complex designs. Additionally, they occasionally have mechanical components that let them move and make noise. These are designed for more seasoned builders and take 4 to 8 hours to complete.
Five to Six Stars: These kits are designed to test the skills of even seasoned builders. Assembly takes five to twelve hours.
Materials
There are four primary categories of materials available for model kits. To choose the material you want to work with, weigh the advantages and disadvantages of each and consider how you enjoy its appearance and feel.
Plastic: Plastic model kits are inexpensive, lightweight, accessible, and simple to use, which makes them ideal for novices. However, their surface texture is less realistic, and their features are frequently less detailed. Many plastic sets also need to be cleaned to remove the seam lines.
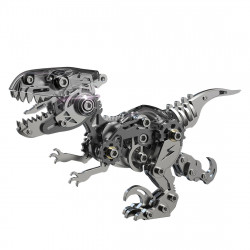
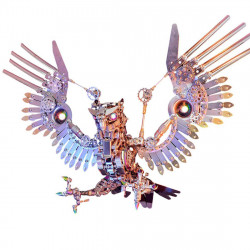
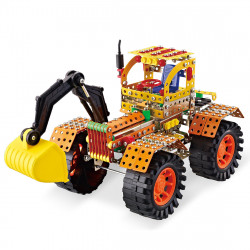
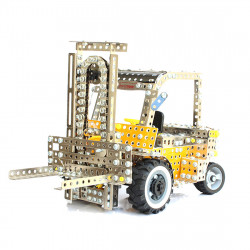
Metal: Metal models are more difficult to manage and move due to their weight. However, some people adore their durability and weight. They're also easy to strip. However, they are constrained in terms of detail and position, and painting one calls for more planning.
Resin: Resin sculptures are popular because of their remarkable intricacies and more realistic surface texture. In addition, they are lightweight and simple to paint. However, they are fragile and somewhat costly, so be ready. They also take longer to assemble because they need additional preparation, such as cleaning and sanding, to ensure that the pieces fit precisely.
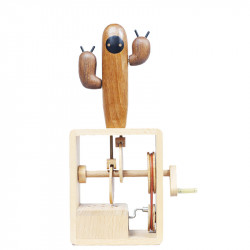
Wood: In addition to being lightweight and reasonably priced, wooden models have a classic appearance that makes them look fantastic, even without painting. In addition, they emit no emissions like plastic and resin do, making them more environmentally friendly. However, their fragility makes them challenging to work with.
Size and Scale
Most kits provide the finished model's measurements, which can help you gauge the size of the parts you will be working with and whether it will fit where you want to display it if you have limited room.
However, the kit's scale is helpful if you intend to develop a campaign or make long-term changes to your models. By maintaining consistency in scale, you can avoid having a soldier larger than your truck or a rifle too small for your character. The measures will be proportionate and in the correct ratio throughout your project.
The model is represented by the number on the left, "1," in a 1:16 scale copy, while the number on the right, "16," indicates how many times the model has been reduced in size in comparison to the original. This indicates that the model is either 16 times smaller than the actual object or 1/16 the size of the original on a 1:16 scale kit. The model's downsizing increased with the number on the right.
Gathering the Basic Tools You'll Need for Model Building
If you have the appropriate tools, the assembly process will go more smoothly and quickly. Some starting kits include the most essential tools to assemble them. Therefore, it's wise to start investing in these fundamental tools if you intend to create additional kits.
Self-healing cutting mat to shield your table and stop slides
Sharp, pointy-tipped scissors
Model pieces can be extracted from sprues with clippers.
Tweezers for managing tiny fragments
Using a hobby knife to clean the mold lines and sprues
Sandpaper to help with tight fittings and to smooth down sharp edges.
The type of glue used depends on the substance of the model.
Use tape, elastic bands, or clothes pins to keep pieces together while drying.
Various-sized paintbrushes
The kit occasionally provides paint.
Preparing for Assembly
Once you have your model kit and the necessary tools, it's time to get ready for assembly. Without this stage, the assembly process may take longer due to disarray, and you may even become frustrated when you discover that you have glued the incorrect parts together. Thus, before you begin the assembly, allocate some time to complete the following tasks.
Start by removing everything from the model kit box and laying it on a level surface.
Get your tools ready and locate the manual or assembly instructions.
Cut the model pieces from their sprues using your clippers. The parts can be harmed simply by breaking them free from their sprues, particularly the smaller, more delicate ones.
Carefully cut away the model pieces' seams and any remaining sprues with your hobby knife and sandpaper.
To prevent assembling parts incorrectly, identify each item according to the assembly instructions and make sure it will be put where it is supposed to be. To make finding the parts easier during assembly, you may also group them based on when you need them or which part they go to.
Throw away the empty sprues and clippings to tidy up your desk.
Assembling the Model
It's time to proceed to the assembly now that the preparation is complete.
Do a dry fit first to determine whether the pieces will fit together without the need for adhesives. To avoid breaking, it's crucial to avoid forcing parts that fit tightly. Instead, take out your handy sandpaper and gradually sand them until they can be inserted smoothly.
Note which areas of your model are hiding other areas if you intend to paint them. Later, you will need to leave the sections underneath them unglued to achieve maximum detail.
After dry-fitting the pieces, disassemble them.
Now, put the model back together, applying a little adhesive to the parts that join. The portions that cover up the other parts should not be adhered to with adhesive.
Use tape, clothes pegs, or elastic bands to hold parts together while they dry. Let them dry overnight.
Apply paint primer on the model and allow it to dry after the adhesive has completely set.
After painting the model, allow it to dry.
Attach and glue the remaining pieces because they get in the way of the other sections. Allow the glue to set completely.
Before painting, apply paint primer and let it dry.
Let it dry completely before putting the final touches on it.
You can also prep and paint the components before assembling them if you know where they belong.
Adding Finishing Touches to the Model
Add whatever finishing touches you choose to add more detail to your model. You can add some weathering or sketch in some fractures. Apply the decals as directed if the model kit comes with them. If the smaller decals are difficult to attach, use your tweezers.
Next, decide on the type of finish you want for your model. Whereas matte paint will offer a flat appearance, glossy paint will give you a lustrous finish. Satin paint can achieve a sheen that falls midway between glossy and matte. After deciding on a finish type, apply a coating and let it completely dry.
Before moving on to the last phase, once you're happy with your customizations and have finished it, apply a layer of sealer, such as clear acrylic, to your model.
Displaying the Completed Model
The last stage in the model-building process is choosing how to display the model. It's your labor of love and arduous effort, after all. While maintaining its natural beauty, you must ensure it is shielded from dust and falls.
Certain model kits already include base supports or clear enclosures, but you might also wish to consider a bespoke cabinet or display box. When deciding how to show your model, it's crucial to consider how it will appear from various perspectives or how you want to illuminate it. It's preferable to place interactive models and music boxes in a display cabinet with a glass door so you can quickly remove them anytime you need to utilize them.
Well done on making your first model!
Final Words
Creating a model takes a lot of time, effort, and patience. If you take your time and go gently, you'll discover that it's a really soothing activity. There is nothing like the sense of accomplishment and fulfillment you get after finishing a model. As time passes, you can continue to be proud of your artwork and show it to your loved ones.
